Expert Advice for Homeowners and New Roofers
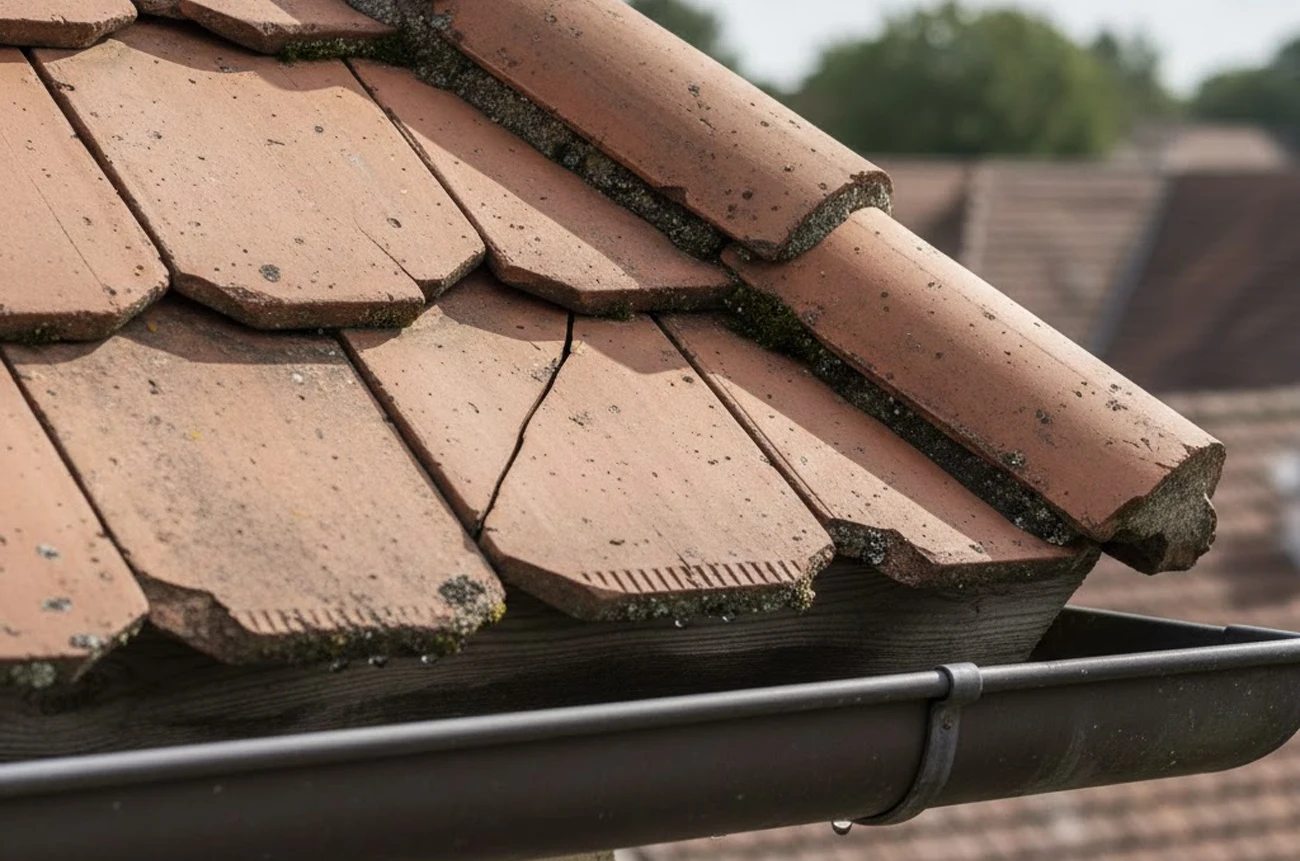
Spotting a cracked or broken roof tile can be alarming, but it’s a repair that often doesn’t require a full roof replacement. Whether a storm has left its mark or you’ve noticed damage from the ground, replacing individual tiles is a common roofing task. With careful planning, the right tools, and attention to safety, it’s something a confident DIYer can handle—or we can step in to make the repair hassle-free.
In this guide, we’ll take you through a clear, step-by-step approach to replacing broken tiles, share practical tips from our on-the-roof experience, and offer advice for recently qualified roofers wanting to sharpen their skills.
Step One: Should You Tackle This Yourself?
Before you climb up, take a moment to assess the situation:
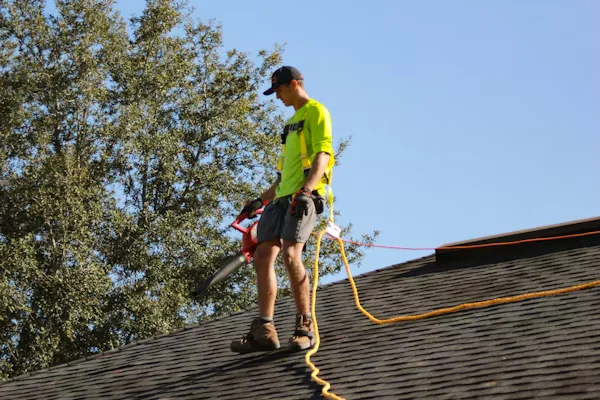
- Roof access & height: Low-pitched or single-storey roofs are easier for DIY work. Taller or steeper roofs require specialist access and safety knowledge.
- Extent of damage: One or two cracked tiles are usually manageable. Widespread damage may indicate an underlying issue.
- Tile type: Standard concrete and interlocking clay tiles are straightforward to swap. Delicate handmade clay, slate, or heritage tiles need careful handling and sourcing.
- Weather conditions: Only work in dry, calm conditions. Wet tiles or strong gusts can quickly turn dangerous.
If you have any doubts, it’s safer to call Taylor Roofing. We can assess your roof, source the correct tiles, and carry out repairs efficiently and safely.
Tools and Materials You’ll Need
Gathering everything before you step onto the roof makes the job smoother and safer:
- Roof ladder with ridge hook or a stable access ladder
- Harness, fall protection, non-slip footwear, and gloves
- Pry bar or slate ripper (for older tile fixings)
- Hammer or cordless screwdriver
- Replacement tiles that match in shape, size, and colour
- Copper or galvanised nails or clips, depending on your roof system
- Mortar or dry-fix components for ridges or verges
- Bucket or pouch for old fixings
- Brush to clear debris
Tip from Taylor Roofing: Take one of your existing tiles to a supplier to ensure the replacement matches perfectly. Even small differences in shape can compromise your roof’s weatherproofing.
Step-by-Step Guide: Replacing Broken Roof Tiles
1. Set up safe access
Position your ladder on firm, level ground. Secure it with a stabiliser or have someone foot it. If using a roof ladder, hook it over the ridge to avoid putting weight on the tiles.
2. Inspect the damaged area
Look beyond the visibly broken tile. Check surrounding tiles for hairline cracks, slipped clips, or underlay damage. Sunlight or debris beneath the tiles can indicate a secondary problem.
3. Lift the tiles above
Gently lift the two tiles immediately above the damaged one. Hold them in place using a wooden wedge or your hand, avoiding pressure on neighbouring tiles.
4. Remove the broken tile
For interlocking tiles, slide the damaged tile out from its overlaps. If nailed, lift overlapping tiles enough to ease a pry bar under the nail, or carefully cut it out. Avoid forcing neighbouring tiles.
5. Check underlay and battens
Inspect the felt or membrane for tears, and make sure battens are secure. Small nicks in the underlay can be patched, but rotten battens or widespread damage requires professional attention.
6. Fit the new tile
Slide the replacement tile into place, ensuring it locks into the interlocks or rests securely on the batten. Nail or clip according to the manufacturer’s instructions using corrosion-resistant fixings.
7. Reinstall ridge or verge components
If the tile is near a ridge, verge, or valley, you may need to bed mortar or secure a dry-fix component. Modern dry-fix systems are ideal for long-lasting repairs.
8. Lower the lifted tiles
Gently return the lifted tiles to their original position. Check that lines are even and headlap is consistent to prevent water ingress.
9. Finish tidy-up
Clear debris, remove old nails, and photograph the repair for your records or insurance.
Common Pitfalls to Avoid
- Stepping on tile crowns: Always distribute weight near the lower third where the tile is supported.
- Mixing tile profiles: Only an exact match ensures weatherproofing.
- Skipping fixings: Tiles in exposed areas must be nailed or clipped.
- Working in wet or windy conditions: Reschedule if weather makes the roof unsafe.
When to Call in Professionals
Contact Taylor Roofing if:
- The roof is steep or more than two storeys
- Damage is near chimneys, valleys, skylights, or solar panels
- Multiple tiles are damaged
- You suspect water ingress or structural issues
- You need an urgent, weather-tight repair after a storm
Our teams provide safe access, exact-match tile sourcing, and a guaranteed repair.
Costs, Insurance, and Timing
Replacing a single tile is usually cost-effective, but access, tile type, and roof position affect pricing. Storm damage may be claimable on buildings insurance, and we can provide detailed reports, photos, and invoices to support a claim.
For repeat failures or vulnerable areas, we often recommend upgrading to a dry-fix ridge or verge system for improved ventilation, wind resistance, and lower maintenance.
Tips for Newly Qualified Roofers
If you’ve recently earned a roofing qualification, tile replacement is a perfect first skill to master:
- Learn to identify and match tile profiles quickly
- Master safe ladder and roof access techniques
- Follow manufacturer guidance for nails and clips
- Document repairs with before-and-after photos and notes
Why Homeowners Choose Taylor Roofing
- Fast, clean repairs with perfectly matched tiles
- Guidance on whether DIY is appropriate
- Transparent pricing with no surprises
- Assistance with insurance claims
- Guaranteed workmanship from local experts
Whether you want a step-by-step guide or a professional roof tile repair, Taylor Roofing is here to keep your home watertight.
Bottom line: Replacing a single broken tile is doable on low, accessible roofs if you match the profile, check the underlay, and refix correctly. For steep, complex, or multiple-tile damage, call Taylor Roofing for a safe, professional repair.
Contact us today: Call 01933 588075 or fill out our online contact form to arrange an inspection and get your roof back in shape quickly and safely.