Roof felt plays a crucial role in protecting properties from moisture, wind, and long-term structural damage. Whether used on sheds, garages, extensions, or full roofing systems, felt provides a protective layer that helps keep water out and extends the life of the roof beneath it.
If you are looking to understand how to lay roof felt correctly, this guide walks you through the process in a simple and practical way. From preparation and tools to installation and common mistakes, you will gain a clear understanding of how it all comes together.
At Taylorrm Roofing, we work with roof felt as part of our daily projects across Irthlingborough and surrounding areas. Proper installation is essential. A well-laid felt roof can last for years, while poor fitting can lead to leaks and costly repairs.
What Is Roof Felt and Why Is It Important?
Roof felt is a waterproof membrane made from bitumen and reinforced fibres. It acts as a barrier against rain, wind, and damp, protecting the roof deck and the interior of a property.
It is commonly used on:
- Garden sheds
- Flat roofs
- Garages
- Extensions
- Outbuildings
It can also be used as an underlayer beneath tiles or shingles on pitched roofs.
When fitted correctly, roof felt prevents water from seeping into the structure and helps reduce the risk of rot, mould, and insulation damage. It is one of the most important layers in any roofing system.
Tools and Materials You Will Need
Before starting, make sure you have the right equipment ready. Preparation saves time and helps you achieve a neat, secure finish.
Essential tools include:
- Roofing felt rolls
- Roofing nails or galvanised clout nails
- Hammer
- Sharp utility knife
- Measuring tape
- Chalk line
- Bitumen adhesive (if required)
- Ladder and safety equipment
Having everything within reach makes the process smoother and safer.
Preparing the Roof Surface
Preparation is one of the most important steps when laying roof felt. A clean, stable base ensures the felt adheres properly and lasts longer.
Start by checking the roof deck. It should be:
- Clean and dry
- Smooth and level
- Free from debris or loose nails
- Structurally sound
If you are replacing old felt, remove the damaged material first. Take care to clear away old adhesive, nails, and any rotted timber.
If the surface underneath is damaged, it is worth repairing it before moving forward. Laying new felt over a poor base can cause early failure.
Measuring and Cutting the Felt
Measure the roof area carefully so you know how much felt is needed. It is better to allow extra material than run short partway through the job.
Unroll the felt and cut sections to size before fixing them in place. This makes positioning easier and reduces the chance of errors.
Make sure each strip allows for an overlap. Typically, an overlap of around 50mm to 75mm helps keep the roof watertight.
How to Lay Roof Felt: Step-by-Step
1. Start at the Lowest Edge
Always begin at the bottom edge of the roof and work upwards. This allows each layer to overlap the one below it, helping rainwater run off naturally.
Roll out the first strip of felt along the lower edge. Make sure it sits straight and covers the full width.
2. Secure the Felt
Once positioned, fix the felt in place using galvanised clout nails. Space the nails evenly along the edges, usually every 100mm to 150mm.
Make sure the felt lies flat without wrinkles or air pockets. A smooth finish helps prevent water from pooling.
3. Apply the Next Layer
Roll out the next strip above the first one. Allow for the correct overlap so water cannot seep through the join.
Fix it in the same way, ensuring it sits securely and evenly.
Continue this process working your way up the roof until the entire surface is covered.
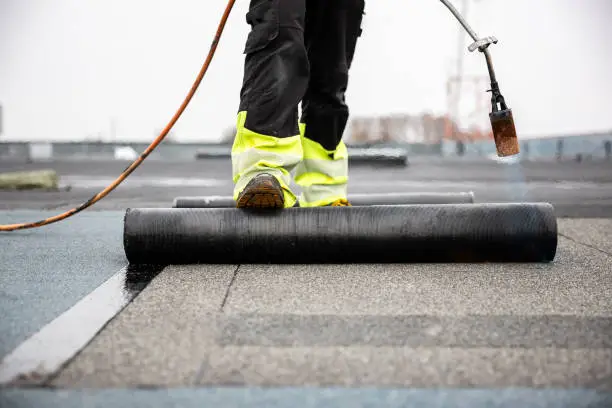
4. Seal the Joints
In some cases, especially on flat roofs, a bitumen adhesive is used to seal overlaps. This creates an extra waterproof bond between layers.
Apply adhesive evenly and press the felt firmly into place.
5. Finish at the Top Edge
The final strip should extend slightly over the top edge of the roof. This helps guide water away and protects the structure beneath.
Trim any excess neatly with a sharp knife for a tidy finish.
Tips for a Professional Finish
Laying roof felt may seem straightforward, but small details can make a big difference in how long it lasts.
Here are a few practical tips:
- Work in dry weather whenever possible
- Avoid stretching the felt too tightly
- Keep overlaps consistent across the roof
- Check alignment regularly as you go
- Take your time to avoid mistakes
Patience is key. Rushing often leads to uneven fitting and weak points where water can get in.
Common Mistakes to Avoid
Even simple roofing tasks can go wrong if the process is not followed properly. Being aware of common issues can help you avoid them.
One frequent mistake is not allowing enough overlap between strips. This can lead to leaks over time.
Another issue is using the wrong type of nails. Standard nails can rust and cause damage. Galvanised clout nails are designed for roofing and hold up much better.
Laying felt on a damp surface is another problem. Moisture trapped underneath can cause bubbling and reduce the lifespan of the material.
Lastly, poor preparation is often the biggest cause of failure. If the base layer is uneven or damaged, the felt will not perform as it should.
How Long Does Roof Felt Last?
The lifespan of roof felt depends on several factors, including the quality of materials used and how well it is installed.
Basic felt on a shed may last around 5 to 10 years. Higher quality systems on flat roofs can last 15 years or more when professionally fitted.
Regular inspections and maintenance help extend its life. Spotting small issues early can prevent larger repairs later.
When to Consider Professional Help
While laying roof felt on a small shed can be manageable for someone confident with DIY, larger roofs or flat roof systems often benefit from professional installation.
A roofing specialist can ensure:
- Proper sealing and waterproofing
- Correct layering techniques
- Safe working practices
- A long-lasting finish
For homes, garages, or commercial buildings, it is usually worth getting expert support to avoid costly mistakes.
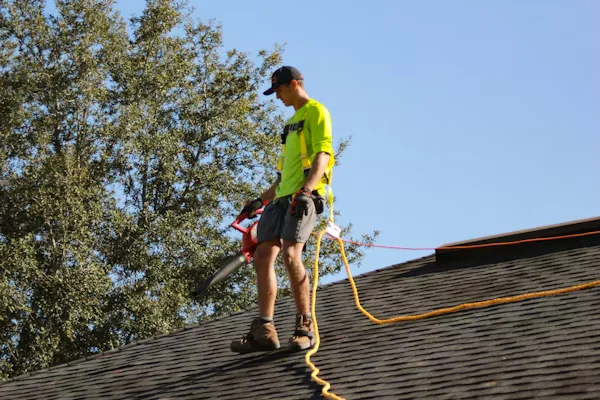
The Importance of Safety
Roof work always comes with risks. Even a simple job can become dangerous without the right precautions.
Always use a stable ladder, wear appropriate footwear, and avoid working in strong winds or wet conditions.
For larger or higher roofs, safety equipment is essential. Professional roofers have the training and tools to handle these situations safely.
Final Thoughts
Learning how to lay roof felt is a useful skill that can help protect outbuildings and small roofing projects from weather damage. With the right preparation, tools, and patience, it is possible to achieve a neat and effective result.
However, for anything more complex or for properties where long-term performance really matters, professional installation often provides peace of mind and better durability.
Need Expert Roofing Support?
If you want a roof that is built to last, our team at Taylorrm Roofing is here to help. Based in Irthlingborough, we provide reliable roofing services for homes, garages, extensions, and commercial properties across the midlands. Whether you need a new felt roof, repairs, or expert advice, we bring experience, quality materials, and careful workmanship to every project.
Get in touch with Taylorrm Roofing today to learn more about our roofing services and how we can protect your property with solutions designed to stand the test of time.