A cracked, slipped, or missing roof tile might not seem like a big issue at first, but even a single damaged tile can allow water into your roof space, leading to damp, mould, and costly structural repairs over time.
If you’re searching for how to change a roof tile, it’s likely you’ve spotted visible damage or want to understand what’s involved before calling a professional. While some minor tile replacements are possible, roof work always comes with risks — and knowing when to DIY and when to call a roofer is crucial.
Taylor Roofing explains how roof tiles are replaced, the tools and steps involved, common mistakes to avoid, and why professional repairs often save money in the long run.
Why Roof Tiles Need Replacing
Roof tiles are designed to last decades, but they are not indestructible. In the UK, roofs are exposed year-round to rain, wind, frost, and temperature changes, all of which contribute to wear and tear.
Common reasons roof tiles need replacing include:
- Storm or wind damage
- Impact damage (falling branches, debris)
- Frost cracking over time
- General ageing of materials
- Poor installation or fixings
- Foot traffic during previous repairs
Replacing damaged tiles promptly is essential to maintaining a watertight roof.
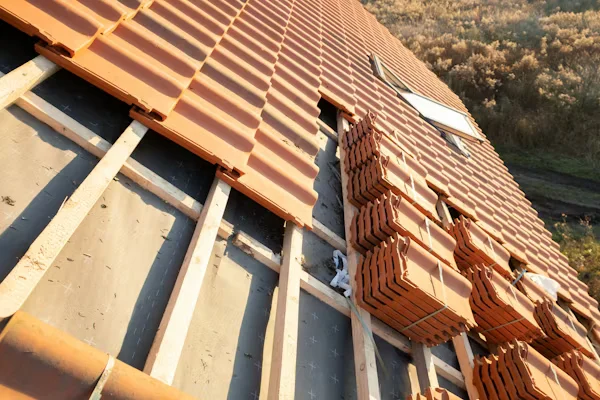
Types of Roof Tiles Common in the UK
Before changing a roof tile, it’s important to identify the type of tile you have. Using the wrong replacement can lead to leaks or further damage.
Concrete Roof Tiles
- Most common in modern UK homes
- Durable and cost-effective
- Heavy and interlocking
Clay Roof Tiles
- Found on older or character properties
- Long lifespan but more brittle
- Often handmade or shaped
Slate Roof Tiles
- Natural stone material
- Extremely durable
- Requires specialist handling
Each type requires a slightly different approach, particularly slate roofs, which should only be worked on by experienced professionals.
Tools and Equipment Needed to Change a Roof Tile
If attempting a tile replacement, the correct tools and safety equipment are essential.
Typical tools include:
- Replacement roof tile (exact match)
- Ladder or roof ladder
- Hammer or slate ripper
- Trowel
- Safety gloves and footwear
Important Safety Note:
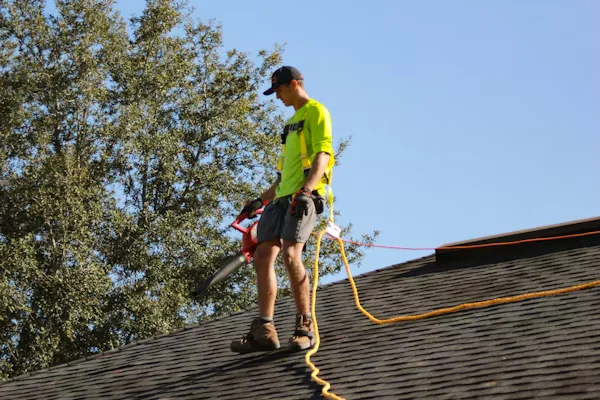
Working at height is dangerous. Falls from roofs are one of the most common causes of serious injuries in home maintenance. If you are unsure, lack proper access equipment, or the roof is steep or high, do not attempt the repair yourself.
Step-by-Step: How to Change a Roof Tile
Below is a general overview of how roof tiles are replaced. This is for educational purposes only and not a substitute for professional roofing work.
Step 1: Access the Roof Safely
- Ensure ladders are secure and positioned correctly
- Use a roof ladder where possible
- Never work in wet, icy, or windy conditions
Safety should always come first.
Step 2: Identify the Damaged Tile
Check for:
- Cracks or breaks
- Slipped tiles exposing underfelt
- Loose tiles that move under pressure
Also inspect surrounding tiles, as damage is often not isolated to one tile.
Step 3: Lift the Surrounding Tiles
To remove a tile, you’ll usually need to lift the tiles above it:
- Gently raise the tiles above using a trowel or wedge
- Take care not to crack adjacent tiles
- Support them while removing the damaged tile
This step requires patience, especially on older roofs.
Step 4: Remove the Damaged Tile
Depending on how the tile is fixed:
- Slide it out if loose
- Remove nails or clips if secured
- For slate tiles, a slate ripper may be needed
Avoid forcing the tile, as this can damage battens or underfelt.
Step 5: Inspect the Roof Beneath
Before fitting the new tile, check:
- Roof battens for rot or damage
- Underfelt for tears or deterioration
- Signs of water ingress
If damage is found beneath the tile, the repair may be more complex than initially thought.
Step 6: Fit the New Tile
- Slide the replacement tile into position
- Ensure it aligns correctly with surrounding tiles
- Secure it with nails or clips if required
- Lower the tiles above back into place
Correct alignment is critical to ensure water sheds properly.
Step 7: Final Checks
- Ensure tiles sit flat and secure
- Check for gaps or uneven lines
- Confirm no surrounding tiles were loosened
Even a slightly misaligned tile can allow water penetration.
Common Mistakes When Changing Roof Tiles
We often repair roofs where DIY tile replacements have gone wrong. Common mistakes include:
- Using the wrong tile type or size
- Cracking surrounding tiles during removal
- Not securing tiles properly
- Ignoring damaged battens or felt
- Walking directly on tiles, causing further cracks
These mistakes can lead to leaks that are more expensive to fix later.
Can You Change a Roof Tile Yourself?
In some cases, yes — but with caution.
DIY tile replacement may be suitable if:
- The roof is low and easily accessible
- Only one or two tiles are damaged
- You have the correct tools and experience
- Safety equipment is used
However, professional roofers should be called if:
- The roof is steep or high
- Multiple tiles are damaged
- The roof is slate or very old
- There are signs of leaks or rot
What looks like a simple tile replacement often reveals deeper issues once inspected properly.
Why Professional Roof Tile Replacement Is Often Better
A professional roofer doesn’t just replace the visible tile — they assess the entire area.
At Taylor Roofing, our roofing repairs service includes:
- Identifying the root cause of damage
- Checking battens, felt, and fixings
- Matching tiles correctly
- Ensuring long-term watertight protection
This approach prevents repeated issues and protects the overall lifespan of your roof.
Roof Tile Repairs across the midlands
Homes across the midlands are frequently exposed to strong winds and heavy rainfall, making tile displacement a common issue, especially after storms.
Local experience matters. Understanding regional weather patterns and roofing styles helps ensure repairs are carried out correctly and last longer.
Preventing Future Tile Damage
You can reduce the need for tile replacements with regular maintenance:
- Annual roof inspections
- Prompt replacement of cracked tiles
- Clearing moss and debris
- Checking ridge tiles and mortar
- Avoiding unnecessary foot traffic on the roof
Routine maintenance can add years to your roof’s lifespan.
How to Change a Roof Tile Safely
Changing a roof tile may look simple, but it requires care, experience, and an understanding of how roofing systems work together. While minor repairs may be possible, incorrect replacements can lead to leaks and long-term damage.
When in doubt, professional help is always the safest and most cost-effective option.
Expert Roof Tile Repairs from Taylor Roofing
If you have broken, slipped, or missing roof tiles, Taylor Roofing is here to help.
Based in Irthlingborough, we provide professional roof tile replacement, repairs, and ongoing roofing maintenance across the midlands. Our experienced team delivers high-quality workmanship, honest advice, and reliable solutions to keep your roof secure and watertight.
Contact Taylor Roofing today to book a roof inspection or learn how our roofing and maintenance services can protect your home and prevent costly damage.